Gather Inspiration
Browse books, explore Pinterest, or wander through a nearby garden. Observe the colors of roses or textures of ferns. Capture these moments with your camera, focusing on petals, leaves, stems, and roots. Place a blank notebook behind the plant for clear photos.
Consult references or online resources to explore botanical beauty. Create a Pinterest board to collect inspirations. Every plant has a story waiting to be captured on paper.
Visit a park or botanical garden. Photograph plant signage to remember names and details for your drawing.
This exploration prepares you for sketching. Whether it's a leaf's arch or a petal's curve, inspiration is just a click or step away. Embrace variety and save images to guide your pencil later.
Practice With a Copy Sketch
Choose an illustration that intrigues you—simple yet detailed enough to challenge you. Notice the basic shapes: circles, ovals, lines. This establishes the foundation for your botanical journey.
Start by lightly sketching the fundamental shapes; focus on capturing the essence rather than perfect replication. For a daisy, begin with a circle for the center and ovals for petals. Let your hand flow naturally across the paper.
Appreciate the imperfections—they're part of learning. Note how petals overlap or leaves attach to stems. Consider the spaces between shapes; these negative spaces are important in bringing your drawing to life.
After laying down shapes, step back and examine your work. Identify areas needing adjustment with curiosity. Add details where necessary, keeping it light and enjoyable. Connect with the plant, how it grows, and how your drawing captures its essence.
You've completed a vital practice round, bringing you closer to creating unique botanical artwork.
Draw From Your Reference Photo
Select a photo that resonates with you. Start with light pencil strokes, outlining the main lines and shapes of your chosen plant. Pay attention to proportions. Is the stem thin or thick? Are the petals broad or slim?
Observe the finer details. Notice the leaves' curves and angles, how they twist and fold. Consider how petal edges might ruffle or smooth. This step focuses on observation; let the plant reveal its secrets in every curve and nuance.
Take your time. Enjoy creating, with each line honoring the natural world. Even imperfections hold beauty. If a leaf curves too sharply or a stem wavers, embrace it—these quirks make your rendition unique.
Add texture to leaves with light hatching or stippling. Capture a petal edge's blush with a gentle gradient. Every plant contains layers of stories in its veins and angles.
Periodically step back to view your work as a whole. Adjust where needed, with curiosity. The aim isn't perfection but expression—a botanical composition of lines and shades.
Your sketch is now ready to evolve into a vibrant piece of art, infused with care and respect.
Do a Line Drawing in Pen
Choose a waterproof pen with a fine tip to capture both intricate details and bolder lines of your sketch. Carefully trace over your pencil lines, starting from the top and moving downward to prevent smudging.
Vary line thickness to add depth and dimension. Use thinner lines for delicate details like leaf veins or subtle petal folds. Thicker lines can outline the main structure, giving your botanical piece presence on the page.
Consider overlapping elements. Begin with foreground elements and work backward. Closely observe how leaves overlap or stems twist, reflecting this in your pen work.
Experiment with texture through line variation. Try:
- Hatching
- Cross-hatching
- Stippling
These techniques can add dimensionality to your drawing.
Occasionally step back to assess your progress. This perspective shift can reveal areas needing more attention or adjustment. Aim to create an outline that's both accurate and expressive.
With permanent outlines in place, your drawing is ready for color, whether through watercolor washes, colored pencils, or another medium of your choice.

Bring Your Own Style to the Illustration
Gather your preferred coloring tools. Each medium offers different textures and feels, giving you flexibility to experiment and discover your unique style in botanical illustration.
For watercolors: Start with a light color palette reflecting your plant's natural tones. Apply a light initial wash over broader areas. Let it dry, then add darker shades for depth and contrast. Note where light hits your plant and where shadows fall.
For colored pencils: Begin by lightly shading lighter areas of your plant. Gradually build up color, layering additional shades for richer tones. Capture fine details, such as leaf veins or subtle petal gradients.
Feel free to mix media. Perhaps start with a watercolor base and enhance with colored pencils for details.
While staying true to the plant's fundamental features, add artistic flair to make your illustration stand out. Incorporate unexpected colors or stylistic elements reflecting your personality.
Work in layers, allowing media to dry or settle before adding more. Use a fine brush or sharp pencil for final touches—tiny dots of reflected light on a leaf, hints of stem texture, or soft gradients showing gentle petal folds.
Step back and review your artwork as a whole. Each choice, from line quality to color selection, tells part of the plant's story, filtered through your unique artistic lens.

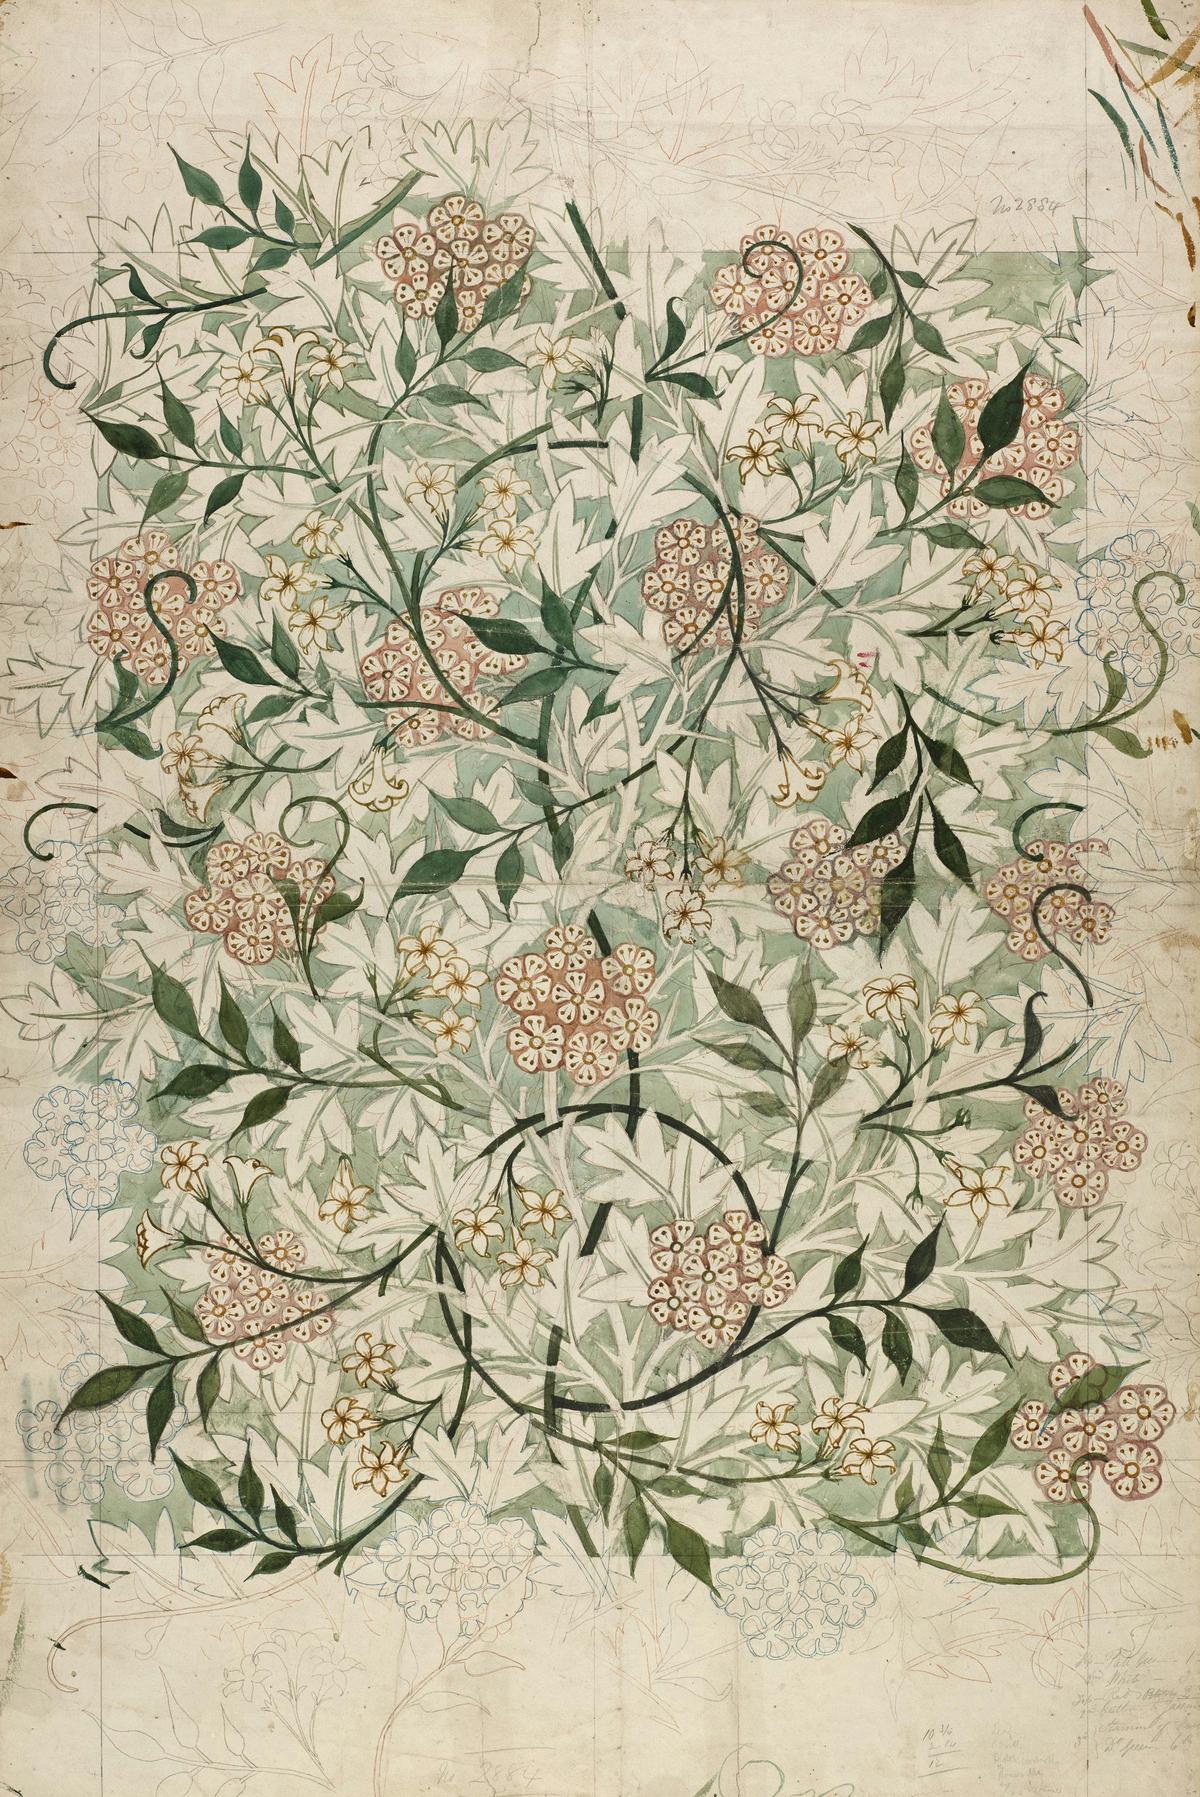
Photo by birminghammuseumstrust on Unsplash
Add the Name of the Plant
Research your subject's botanical name. These names typically use Latin and follow a binomial format: the genus name (capitalized) followed by the species name (lowercase). For example, the common sunflower is Helianthus annuus.1
Select a discreet yet legible spot for your label, often at the bottom corner of your illustration. Using a fine-tip pen, carefully write the botanical name.
Consider using a distinct script or neat print, depending on your style preference. If you're concerned about mistakes, lightly pencil in the name first before tracing over it with pen.
Include your signature and the date alongside the botanical name. These elements transform your drawing into a documented piece of art. Your signature marks your ownership and connection to the piece, while the date serves as a record of when you created this work.
Add these final details carefully, ensuring everything is aligned and neatly spaced. Take a step back and admire your finished botanical illustration, now complete with its scientific identity and your personal mark.
Your botanical illustration captures not only the plant's beauty but also your journey as an artist. Frame it, share it, or keep it in your sketchbook as a proud addition to your growing portfolio of botanical wonders.
- Judd WS, Campbell CS, Kellogg EA, Stevens PF, Donoghue MJ. Plant Systematics: A Phylogenetic Approach. 3rd ed. Sunderland, MA: Sinauer Associates; 2007.


